And…. action!
In the last issue of HOG Insider we looked at everything you needed to create great photos of your bike, this month we look at how to shoot video!
There are plenty of editing options for video – all camera phones are equipped with native video editors, and there are plenty of additional free apps available for download such as iMovie on iPhones, or Adobe Premiere Clip. You can also download GoPro’s Quik software, which will auto edit any video in your library, whether they’re GoPro or not. These tools make it simple to edit short video clips, put your videos to music, add effects or text and much more.
Speaking of GoPro, the second piece of valuable equipment that we’d recommend for shooting your bike is a super compact action camera. Their wide angle of view is great not just for video, but also for photos – the angle will normally be twice as ‘wide’ (sometimes more) as your camera phone. Although expensive, GoPros are among the best – tough, waterproof and in our experience capable of surviving more than a few knocks!
On the straight and narrow
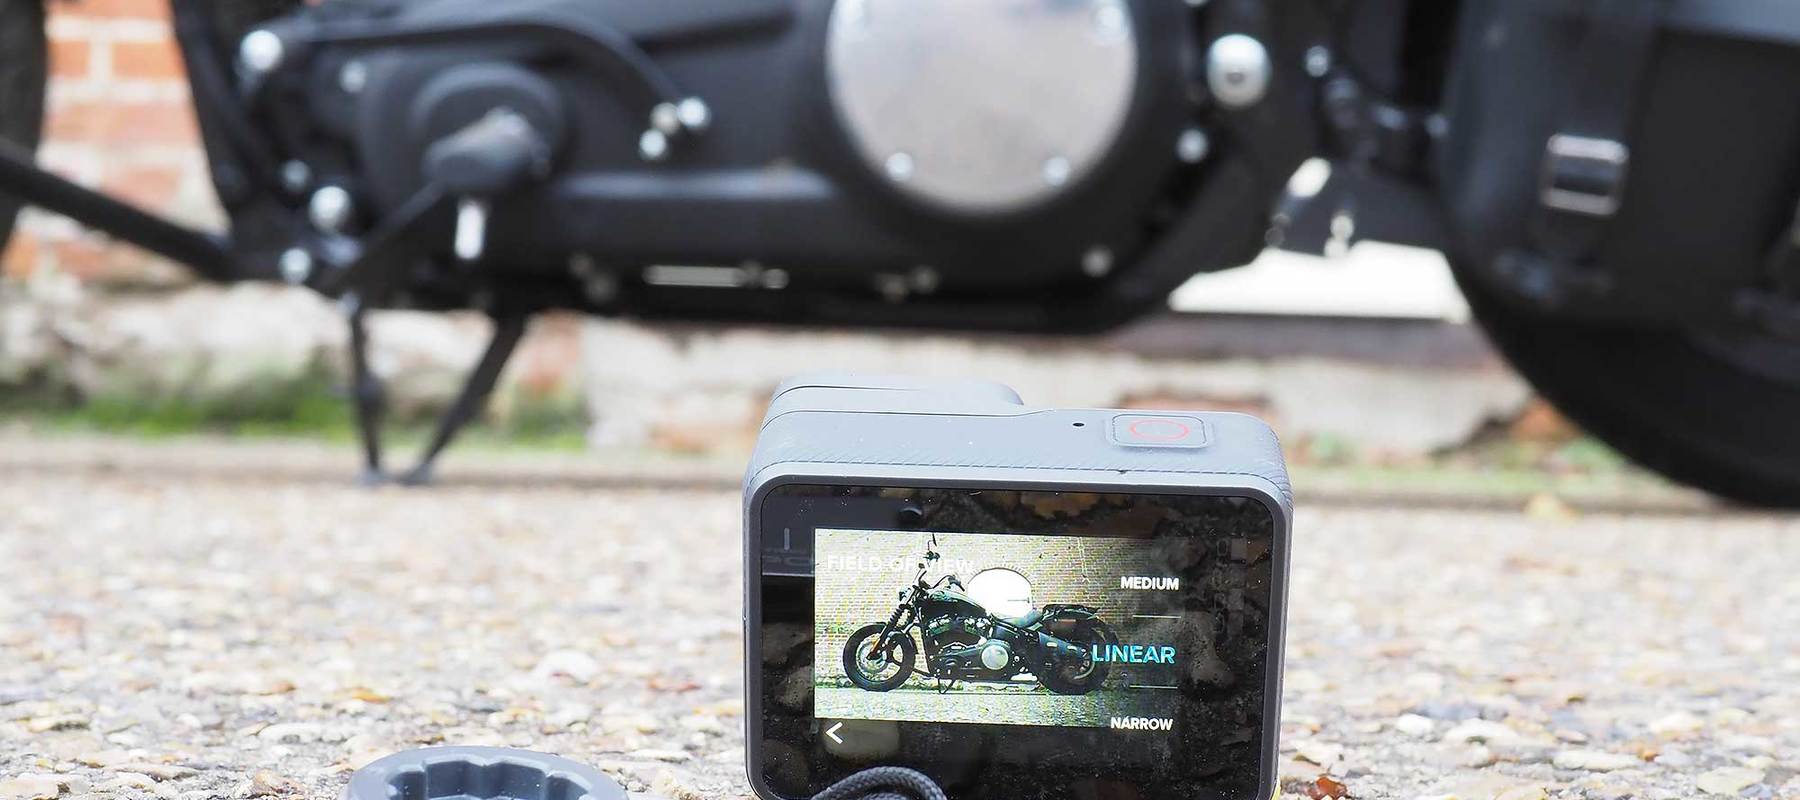
It’s true that the extreme wide angle of these cameras can sometimes distort the view, as it turns straight lines into curves – not the best for admiring motorcycles. However, most of them are equipped with special modes (known as Linear and Narrow in a GoPro, for example) that let you take reasonable images without too much distortion.
When it comes to video, distortion is not such a big problem. But vibration certainly is – and let’s face it; on a Harley, it’s inevitable! GoPro models from the Hero 5 onwards have good stabilisation, and the new Hero 7 is incredible on this front. Even so, it’s still desirable to have your camera somewhere where vibrations are not a huge problem. Be sure to bring a GoPro screw tightener, screwdriver or hex key for 3rd party mounts and tighten everything up – V-twin vibes will loosen screws faster than you can say cheese.
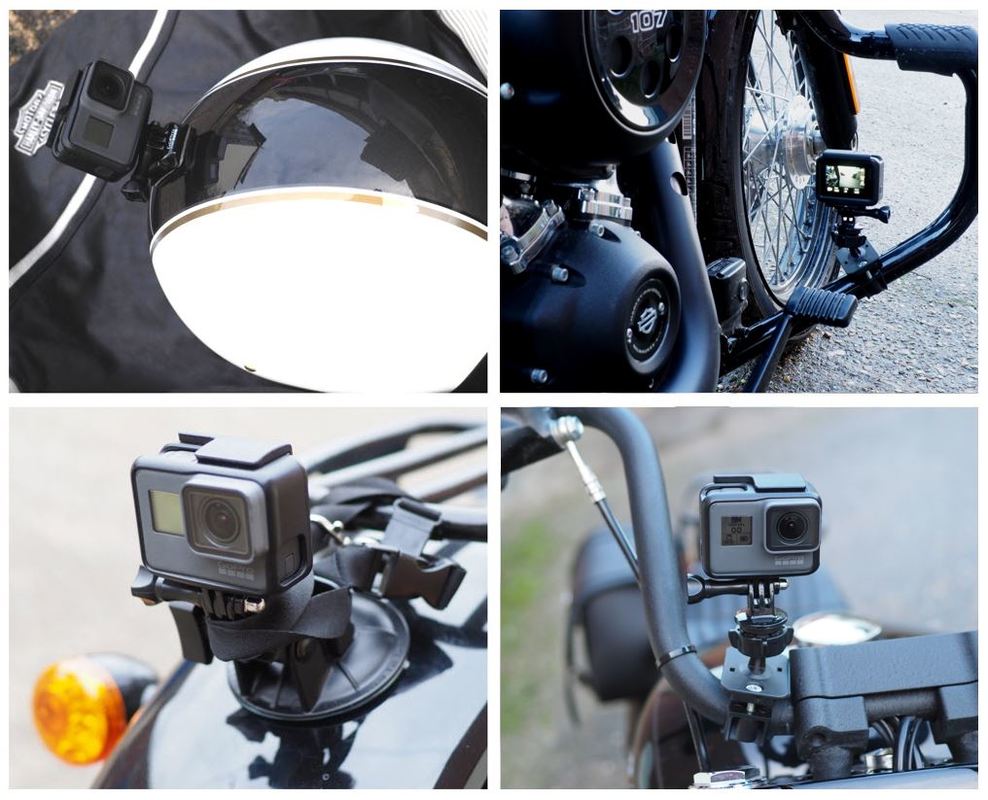
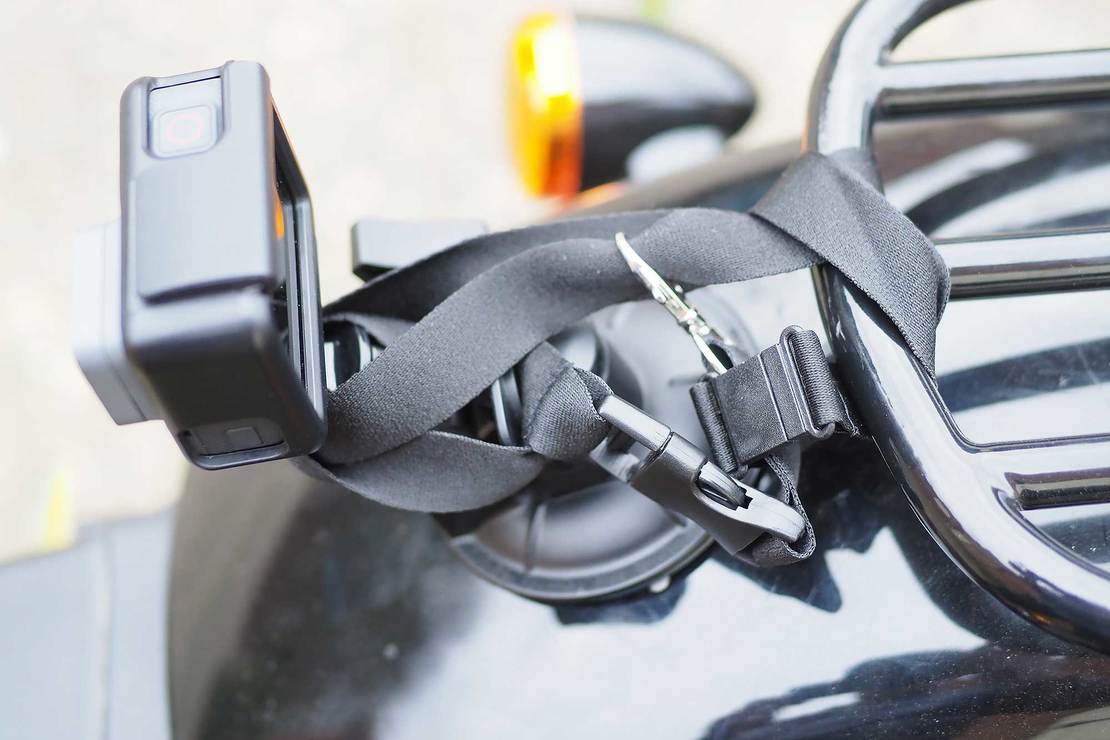
Our favourite places to mount action cams are low on the engine guards to capture the tarmac and wheels rolling close up; on the handlebars; on racks; on your helmet; or even suction-mounted on fairings or mudguards. Remember: if you are using suction mounts rather than screw on mounts, make sure you lasso the camera to something solid as well to avoid disaster!
Mix it up
When using a GoPro or other action cam, the trick is to vary the location and angle frequently (unless you’re doing a hyperlapse, in which case you want it to be stable and maintain the same location and angle). Try filming with it facing forward and backwards on your helmet, and why not sideways pointing at your buddies, getting them to ride past you? Then you could move it down low, facing forward on the engine guard. Next, face it sideways on the engine guard. Then backwards (this is a particularly fun angle when you spark up the pegs/boards/exhaust going around a corner). Then, put it on your handlebar. Follow that with it facing backwards on the fender.
That’s a lot of angles we’ve suggested, but it’s going to look great when you edit it. Keep the clips short for best effect. As mentioned above, an app like Quik can help you edit video on your phone with little hassle, and you don’t need specialist knowledge of video editing. Just tell the app how many clips you want to edit and how long a video you want, then select some music, add some text and choose a ‘look’, and it’ll edit the video for you ready to upload to social media in minutes!
If you’re not on a wet ride you can extend battery life by plugging your GoPro into a USB mobile charger, or even your motorcycle’s USB port if it has one. Be sure to secure battery/cables out of the way with tape or zip ties – and pull up and replace the charge port cover if it starts raining heavily.
Over to you
If you’re looking for some action cam inspiration, check out the video below to see how Steve Graham from the UK’s Chelsea & Fulham chapter got especially creative by putting his GoPro on a small tripod in the middle of the road (do this at your own risk folks!). As you can link your GoPro to your phone, you can keep an eye on what it’s filming (while staying safe of course). You can also use your phone to remote control the GoPro, for posed photos or in riskier locations, just like Steve’s shot in the middle of the road.
So there you have it – there’s no need to carry oodles of kit with you to take great photos of your bike on the road, on tour or at a great location. All you need is a phone and an action camera, some mounts, a small tripod/selfie stick and your neck tube. Then it’s time to get creative…
Our Top GoPro Tips:
1. Use a lanyard to secure it to something
2. Point it front, back, side: everywhere!
3. Carry a GoPro bolt tightener and screwdriver
4. Don’t get too close or you’ll distort the image
5. For photos, use the Linear or Narrow view modes
6. Create great videos in the GoPro Quik app or in Adobe Premiere Clip
7. Carry a spare battery, or two or charge on bike for longer videos
8. Bring a small tripod/selfie stick - also use your gloves to prop
9. Try use voice control if you have it on the cam
10. Clean your lens!